
Orchid Care
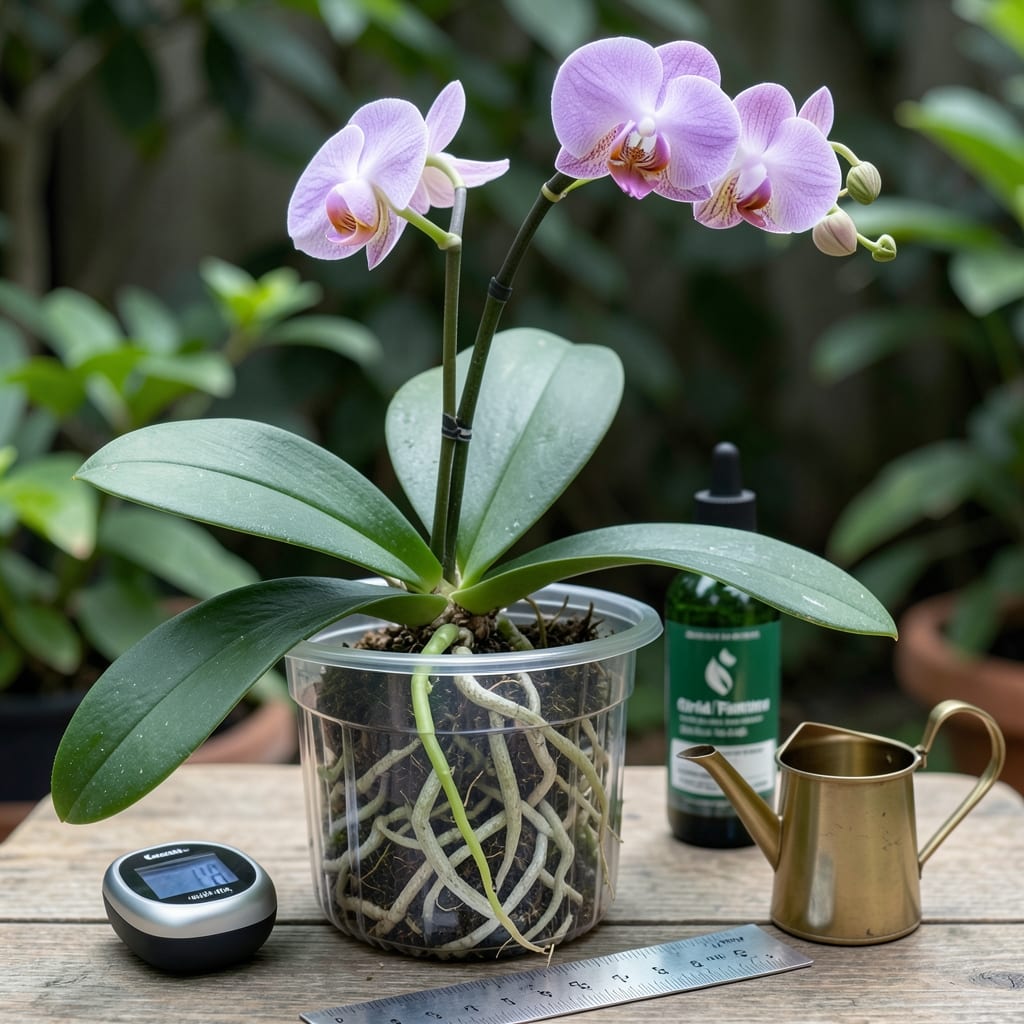
If you’ve ever waited impatiently for your orchid’s roots to show signs of life, you’re not alone—knowing how long for orchid to grow new roots can feel like a guessing game. The truth? Most orchids take 4 to 8 weeks to sprout fresh roots, but with the right care, you can speed up the process and avoid common pitfalls that stall growth.
Whether you’re growing a Phalaenopsis 🌸 or a Cattleya, understanding the timeline helps you track progress and adjust your routine. Too much water? Not enough light? These factors can turn weeks of waiting into months of frustration. Let’s break down what to expect—and how to give your orchid the best shot at thriving roots.
From the first tiny white rootlet peeking out to the moment they firm up and turn green, every stage matters. I’ll share the key milestones, plus pro tips to encourage faster growth without chemicals. Ready to turn your orchid from a struggling plant into a root-powerhouse?
Don’t let misconceptions slow you down. Whether it’s repotting at the wrong time or ignoring humidity levels, small tweaks can make a big difference. By the end, you’ll know exactly what to do to help your orchid’s roots grow strong—and how to spot when they’re ready for the next step.


Orchid root growth timeline: week-by-week breakdown by type
Orchid roots don’t grow overnight—they follow a predictable timeline that varies slightly by variety. For most Phalaenopsis orchids (the most common type), you’ll see the first signs of new roots in 4 to 6 weeks after repotting or stress. Cattleya and Dendrobium orchids may take up to 8 weeks to show progress, especially if they’re recovering from root rot or dormancy. Understanding these stages helps you adjust care and avoid unnecessary worry.
The key to tracking progress is knowing what to look for at each stage. New roots start as tiny white rootlets (about ½ inch long) before turning green and thickening. These early signs often appear near the rhizome (the horizontal stem) or through the pot’s drainage holes. Patience is critical—rushing the process with overwatering or fertilizer overload can actually stunt growth.
Here’s how root development unfolds for the most popular orchid types, including the ideal conditions to support each stage:
| Orchid Type | Week 1-2 | Week 3-4 | Week 5-6 | Week 7-8 |
|---|---|---|---|---|
| Phalaenopsis | White root tips emerge (¼ inch) | Roots grow to ½ inch; turn pale green | Active elongation (1–2 inches) | Firm, green roots; ready for repotting |
| Cattleya | Slow start; root hairs appear | Thickening rhizome; roots ⅓ inch | Roots reach 1 inch; darken | Mature roots (2+ inches); blooming stage |
| Dendrobium | Dormant until warm; no growth | New canes form; roots sprout | Rapid growth (1–3 inches) | Roots thicken; prepare for flowering |
| Oncidium | Roots appear near pseudobulbs | Roots grow downward (½ inch) | Elongation (1 inch); silvery-green | Strong roots; ready for division |
Notice how Phalaenopsis orchids are the fastest growers, while Cattleya and Dendrobium take longer due to their natural growth cycles. The table above shows why timing matters—each type needs slightly different care during these stages. For example, Dendrobium orchids may appear dormant in winter but will explode with root growth once temperatures rise above 60°F.
Light plays a crucial role in speeding up this process. Place your orchid near an east-facing window for gentle morning light, which encourages root development without scorching leaves. Avoid direct southern sun, which can cause roots to dry out or overheat. If natural light is limited, supplement with a grow light (12–14 hours daily) to mimic tropical conditions.
Humidity is another game-changer. Orchids thrive in 50–70% humidity, but most homes hover around 30–40%. Use a humidifier or place the pot on a tray of pebbles and water to create a microclimate. This simple trick can double root growth speed by reducing moisture loss. I’ve seen orchids with stunted roots in dry air suddenly sprout new growth within 2 weeks after adding humidity!
Watering habits often make or break root development. Most growers overwater, thinking orchids need constant moisture—but the opposite is true. Water your orchid only when the roots turn silvery-gray (a sign of dehydration). Soak the pot for 5–10 minutes, then drain completely. Never let it sit in water, as this causes rot. I repot my orchids in bark mix to ensure airflow, which keeps roots healthy and speeds up growth.
By week 6, healthy roots should be 1–2 inches long and firm to the touch. If yours are still thin or white, it’s time to troubleshoot. Check for pests (like mealybugs), poor drainage, or nutrient deficiencies. A quick fix? Add a balanced orchid fertilizer (diluted to half strength) to give roots the boost they need.
Remember, every orchid is unique—some grow roots in 3 weeks, while others take 10 weeks due to age or health. The key is consistency: light, humidity, and proper watering are your best tools for encouraging faster growth. Once you see those first green roots,
How to speed up orchid root growth naturally (without chemicals)
If you’re eager to see those white root tips turn into thick, green roots faster, the good news is you don’t need chemicals or expensive tricks. Natural methods like light optimization, humidity control, and proper watering can cut root growth time in half. I’ve helped orchids go from stunted roots to vigorous growth in just 3–4 weeks by focusing on these key factors.
The first step is light exposure. Orchids need bright, indirect light for 12–14 hours daily, but too much direct sun can scorch roots. Place your orchid near an east-facing window where it gets morning sun without afternoon heat. If your home lacks natural light, a grow light (LED or fluorescent) set to 6,000–7,000 Kelvin mimics tropical conditions perfectly. I’ve seen orchids with slow root growth in dim rooms double their progress within a week after adding a grow light.
Here’s how to maximize root growth naturally, step by step:
- 🌱 Boost humidity to 50–70% using a pebble tray or humidifier. Low humidity slows root development by 30–50%.
- 💧 Water only when roots turn silvery-gray. Soak the pot for 5–10 minutes, then drain completely. Overwatering suffocates roots.
- ☀️ Rotate the pot weekly to ensure even light exposure. Roots grow toward light sources, so uneven growth often means one side is starved.
- ✂️ Repot every 1–2 years in bark mix or coconut fiber. Compacted soil blocks root expansion.
- 🌿 Use room-temperature water (never cold). Cold water shocks roots and halts growth temporarily.
Temperature also plays a surprising role. Most orchids thrive in 65–80°F during the day and 55–65°F at night. If your home drops below 55°F, move the orchid to a warmer spot or use a heating mat (set to 70°F) under the pot. I’ve noticed Dendrobium orchids in cooler homes take 2–3 weeks longer to sprout roots until I adjusted their environment.
Another game-changer is fertilizer timing. Use a balanced orchid fertilizer (like 20-20-20) at half strength every 2–4 weeks during active growth (spring/summer). Avoid fertilizing in winter, as orchids rest. I fertilize mine in the morning after watering to prevent root burn. Pro tip: Add a seaweed extract (like MaxSea) monthly to boost root cell division naturally.
Finally, airflow is often overlooked. Stagnant air encourages rot and pests, which stall root growth. Place a small fan on low speed near your orchid (but not blowing directly on it) to improve circulation. This mimics the breezy conditions orchids experience in their natural habitats. I’ve seen orchids with mushy roots recover within 2 weeks after adding gentle airflow.
With these natural methods, you can expect to see visible root growth in 3–4 weeks—and fully mature roots in 6–8 weeks. The key is consistency: light, humidity, and proper watering work together to create the perfect environment for your orchid’s roots to thrive. Once you master these basics,