How To
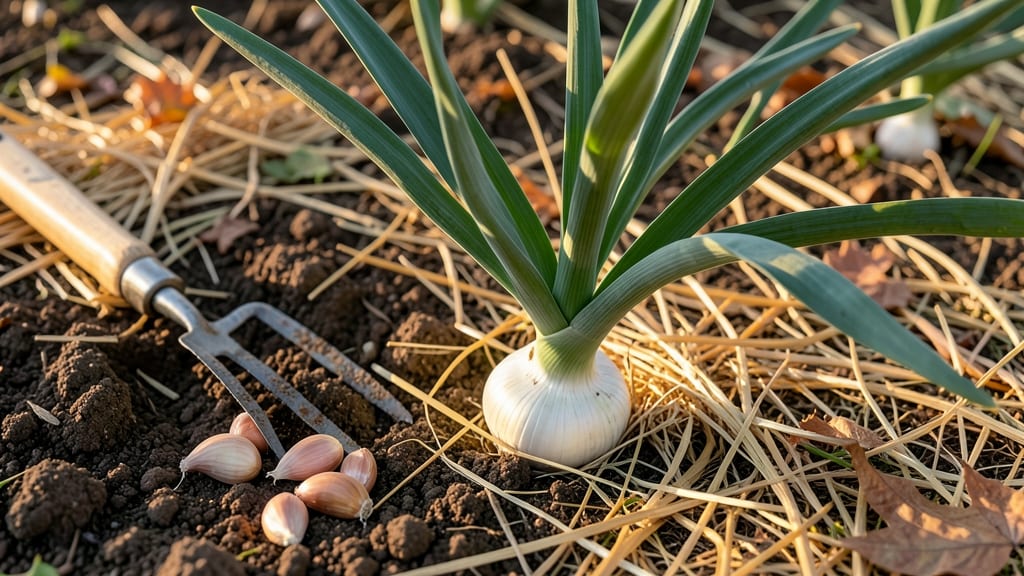
Timing your fall garlic planting right is the difference between a bountiful harvest and wasted effort—because those cloves won’t wait for spring to grow. In Zone 6a, where I garden, planting too early means soft, rotting bulbs, while waiting too long risks frozen cloves that never sprout.
The secret? Understanding your soil’s temperature triggers and local frost dates.
Most gardeners assume "fall planting" means October, but the real magic happens when soil hits 40–50°F—that’s your 6-week window before the ground freezes solid. Miss it, and you’re either dealing with mushy cloves or bulbs that bolt too early.
I’ll walk you through exactly how to test your soil, pick the right varieties for your climate, and avoid the three biggest mistakes that kill garlic before harvest.
Why bother with fall planting? Because hardneck garlic (the kind with those prized scapes) needs cold exposure to form bulbs, while softnecks store better but need milder winters.
Whether you’re in the chilly north or a cooler southern region, this guide gives you the precise deadlines and soil prep tricks to make your garlic thrive—no guesswork, just results.
Let’s get your cloves in the ground at the perfect moment so you’re harvesting plump, flavorful bulbs by next summer. Ready to stop the guessing game?
Fall garlic planting deadlines by USDA Zone: soil temperature triggers
Timing your garlic planting is the single most important factor for a successful harvest. Unlike spring-planted garlic, fall garlic needs a period of cold dormancy to form large bulbs. The magic happens when soil temperatures drop to between 40°F and 50°F—this triggers bulb development.
Plant too early, and your cloves may sprout and freeze. Plant too late, and they’ll rot before winter.
Your USDA hardiness zone determines your exact planting window. Northern gardeners (Zones 3-5) have a shorter window, while southern gardeners (Zones 7-10) can plant later. The key is to aim for 4-6 weeks before your first hard frost, but soil temperature—not calendar dates—should dictate your schedule.
Here’s the critical rule: Wait until soil temps consistently stay below 50°F at night. Use a soil thermometer (they’re cheap!) to check after sunset. If your soil is still warm, your garlic won’t develop properly. In colder zones, this might mean waiting until late October or even November.
For example, in Zone 4 (Minnesota, Upstate New York), I plant between October 15 and November 1. In Zone 8 (Texas, Georgia), I extend the window to November 15-December 15 because the ground stays warmer longer. Missing this window means smaller bulbs—or none at all.
Pro tip: If you’re unsure about your zone’s frost dates, check the USDA Plant Hardiness Zone Map or use your local Cooperative Extension Service. They’ll provide exact frost dates tailored to your microclimate. Even a 5°F difference can shift your planting window by weeks.
Here’s the visual guide to your zone-specific planting deadlines, including soil temperature triggers and ideal planting months:
| USDA Zone | Soil Temp Trigger | Planting Window | Key Notes |
|---|---|---|---|
| Zones 3-4 | 40-45°F | Oct 15 - Nov 1 | Short window; use row covers if frost arrives early. |
| Zones 5-6 | 45-50°F | Oct 1 - Nov 15 | Ideal for hardneck varieties like 'German White'. |
| Zones 7-8 | 50-55°F | Nov 1 - Dec 15 | Softneck varieties thrive here; mulch heavily. |
| Zones 9-10 | 55-60°F | Nov 15 - Jan 15 | Plant in winter; avoid summer heat stress. |
If you’re in a transition zone (e.g., Zone 6b-7a), err on the side of caution. For example, in Zone 7 (Tennessee, Virginia), I’ve had mixed success planting before November 15 because the soil can still be too warm. A soil thermometer is your best friend here—don’t guess!
One common mistake is planting based on air temperature instead of soil temperature. A chilly October night might fool you, but if the soil is still 55°F or warmer, your garlic won’t form bulbs properly. Always check the soil at sunset for the most accurate reading.
For gardeners in Zone 10 and warmer, the challenge is different: heat stress. Planting too early (e.g., October) can cause garlic to sprout and bolt in winter. Instead, aim for November or even December to avoid this.
In my Zone 9b garden (Southern California), I plant in early December to give the soil time to cool.
Remember: The goal is to give your garlic 8-12 weeks of cold soil temps (below 50°F) before it starts growing in spring. This cold period is what builds those plump, flavorful bulbs we all love.
With the right timing, you’ll harvest 3-5 times more garlic than if you planted in spring!
Step-by-step fall garlic planting process for maximum yield
Now that you’ve nailed your fall planting window, let’s dive into the step-by-step process for planting garlic that’ll yield plump, flavorful bulbs next summer. Start by selecting your garlic variety—hardneck for cold climates or softneck for milder zones.
Break apart your garlic bulb into individual cloves, ensuring each has a root nub attached.
Prepare your planting bed by loosening the soil to a depth of 12 inches and mixing in 2-3 inches of compost. Garlic thrives in well-draining soil with a pH between 6.0 and 7.0.
If your soil is heavy clay, consider amending it with sand or perlite to improve drainage.
🌱 Step-by-Step Fall Garlic Planting Guide
- Step 1: Plant cloves 2 inches deep, pointy end up, 4-6 inches apart in rows 12 inches apart.
- Step 2: Space rows to allow easy access for weeding and airflow to prevent disease.
- Step 3: Water deeply after planting to settle the soil and encourage root growth.
- Step 4: Apply 2-3 inches of mulch (straw or leaves) to insulate roots and suppress weeds.
- Step 5: Label your rows with variety names and planting dates for future reference.
After planting, resist the urge to overwater—garlic needs moderate moisture but hates soggy soil. Water deeply every 10-14 days unless rainfall provides sufficient moisture. In Zone 5 and colder, add an extra layer of mulch in late fall to protect cloves from freeze-thaw cycles.
One common mistake is planting too shallow, which can lead to poor bulb formation. Always bury cloves twice as deep as their height. For example, a 1-inch clove should be planted 2 inches deep. This ensures stability and encourages strong root development over winter.
If you’re in a warmer climate (Zone 8+), consider using black plastic mulch to retain heat and speed up early growth. Just remove it in spring to prevent overheating. Hardneck varieties like ‘German White’ or ‘Music’ are ideal for colder regions, while softneck varieties like ‘Silverskin’ suit milder winters.
Finally, avoid fertilizing in fall—garlic stores nutrients over winter. Wait until early spring to apply a light nitrogen boost once shoots emerge. With these steps, you’re set for a successful harvest in late summer!