Plants
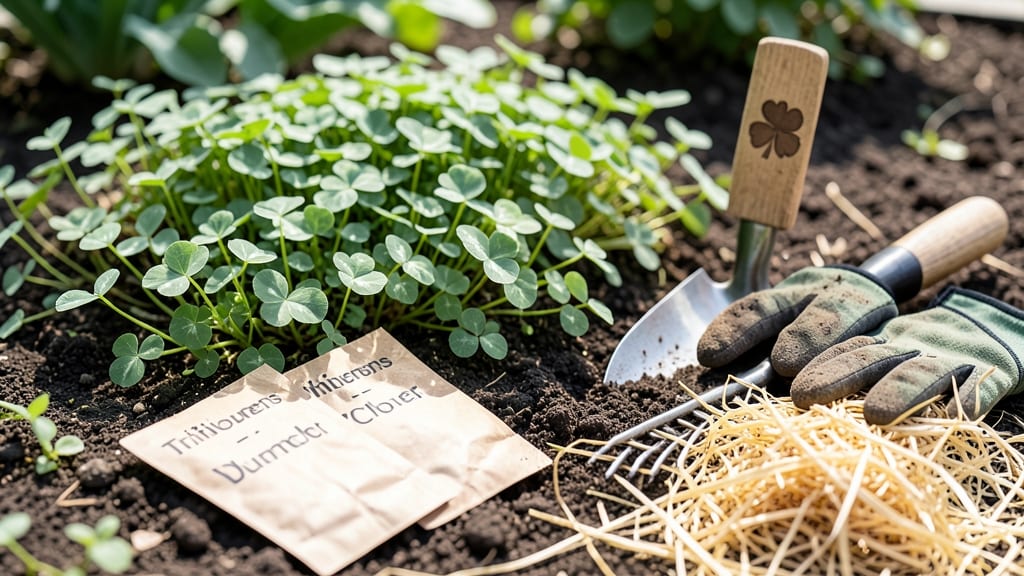
Planting clover in the fall can transform your lawn or garden into a lush, nitrogen-rich green space—but timing is everything. If you miss the sweet spot between late summer and early fall, your clover may struggle to establish strong roots before winter sets in.
The key lies in understanding your local climate and soil conditions, especially in zones like 6a, where frost can sneak up faster than expected.
Most gardeners swear by planting 4-6 weeks before the first frost, giving clover enough time to grow a robust root system. This window ensures your 🌱 thrives through winter, returning stronger in spring.
But how do you know exactly when that is? It’s not just about the calendar—soil temperature plays a surprisingly big role in determining success.
In this guide, I’ll walk you through the exact steps to time your planting perfectly, from checking soil warmth to adjusting for regional differences. You’ll learn how to spot the ideal conditions, avoid common mistakes, and even extend the planting window if you’re in a colder climate.
Let’s get your clover off to the best possible start.
Whether you’re planting for a pollinator-friendly garden, a nitrogen-rich cover crop, or a lush lawn, these insights will help you make the most of your fall planting season. Ready to turn your yard into a thriving ecosystem? Let’s dive in.
Best fall planting dates based on soil temperature Zones
Timing your clover planting in the fall depends on soil temperature, not just the calendar. Clover thrives when soil warmth hovers between 50°F and 60°F—this range signals ideal conditions for root establishment before winter dormancy.
In USDA Zones 5-7, aim for mid-September to early October, while Zones 8-10 can extend planting into November. The key is giving clover 4-6 weeks to develop roots before the first frost.
Soil temperature is more reliable than air temperature for determining readiness. Use a soil thermometer (inserted 4 inches deep) to check daily. If temperatures dip below 50°F consistently, delay planting until conditions stabilize.
In northern climates, this might mean waiting until late September, while southern regions can plant as late as early November without risking frost damage.
Regional examples highlight the importance of local adaptation. In Zone 6a (like Chicago), plant between September 15 and October 1 for optimal success. Meanwhile, Zone 9a (like Los Angeles) can plant until November 15 thanks to milder winters.
Always check your local frost dates—the USDA Plant Hardiness Zone Map is a great starting point.
For accurate timing, combine soil temperature checks with moon phase tracking. Planting during a waxing moon (when the moon is growing) encourages root development, while a waning moon is better for leafy growth. This ancient gardening trick aligns with modern science about root establishment.
🌱 Fall Clover Planting Timeline by USDA Zone
| USDA Zone | Ideal Planting Window | Soil Temp Range | Key Consideration |
|---|---|---|---|
| Zones 3-4 | Late August to mid-September | 55-65°F | Short growing season; prioritize early planting |
| Zones 5-6 | Mid-September to early October | 50-60°F | Balanced window for root growth before frost |
| Zones 7-8 | td style="padding: 10px; border: 1px solid #ccc;">Late September to mid-November50-65°F | Longer window; monitor frost dates closely | |
| Zones 9-10 | October to early December | 50-70°F | Mild winters allow late planting |
If you’re unsure about your local frost dates, consult the Old Farmer’s Almanac or your local cooperative extension service. These resources provide hyper-local data that accounts for microclimates.
For example, a valley location may frost earlier than a hilltop garden just a few miles away. Adjust your planting date accordingly to avoid frost damage to young clover seedlings.
Another tool for timing is the "100-day rule": Count back 100 days from your first expected frost date. This gives you a rough estimate of when to plant for a full growing season before winter.
For instance, if frost hits November 15, aim to plant by August 15. However, clover is more frost-tolerant than many plants, so you can often push this window by 2-3 weeks in favorable conditions.
For cover crop clover, like white Dutch clover or crimson clover, the ideal window is slightly earlier—late summer to early fall—to ensure full ground coverage before winter.
These varieties are planted to improve soil health and suppress weeds, so their establishment is critical. Use a seed drill or broadcast spreader for even distribution in large areas.
Once you’ve nailed down the planting date, prepare your soil by loosening the top 4-6 inches with a garden fork or tiller. This aeration encourages root penetration and reduces compaction.
Add compost or aged manure to boost organic matter, which clover will convert into nitrogen-rich humus—a natural fertilizer for your garden.
After planting, water deeply to 1 inch per week, keeping the soil consistently moist but not soggy. This fall watering routine helps clover establish roots before winter dormancy. Mulch with straw or shredded leaves to retain moisture and insulate roots from temperature fluctuations.
Signs your soil is ready for fall clover planting
Fall planting success starts with knowing your soil is primed for clover. While soil temperature is your best guide, other clues tell you when conditions are perfect. Pay attention to these subtle but critical indicators before you plant.
Your soil should feel warm but not hot—like a cozy bath towel left in the sun. Press your finger into the ground; if it’s 50-60°F at 4 inches deep, it’s time. This warmth encourages root growth without stressing young seedlings.
Check for moderate moisture—soil should hold together when squeezed but not feel soggy. Overly wet soil can suffocate roots, while dry soil makes germination harder. Aim for dampness like a wrung-out sponge.
Look for fewer weeds competing for space. Fall’s cooling temperatures slow weed growth, giving clover a fighting chance. If weeds are still thriving, wait a week or two—they’ll fade faster than you think.
🌱 Leaf color changes signal the perfect window. When nearby trees and plants start turning yellow or brown, it’s nature’s cue that soil temps are dropping—but not yet. Plant when 50% of leaves have changed color.
Finally, observe clover’s natural rhythm. If you spot wild clover blooming in nearby fields, your garden’s soil is likely ready. Mimic nature’s timing for the best results.
Once you’ve confirmed these signs, grab your seed and get planting! The sooner you act, the stronger your clover will be by spring.
✅ Pro Tip: Use a soil thermometer for precision. It’s the fastest way to confirm your soil’s ready for clover’s roots to take hold.
| Sign | What It Means | Action |
|---|---|---|
| Soil temp 50-60°F | Ideal warmth for root growth | Plant seeds within 3-5 days |
| Damp but not soggy soil | Balanced moisture for germination | Water lightly after planting |
| 50% leaf color change | Cooling temps, stable conditions | Plant before first frost |
| Wild clover blooming | Nature’s timing signal | Match your planting schedule |